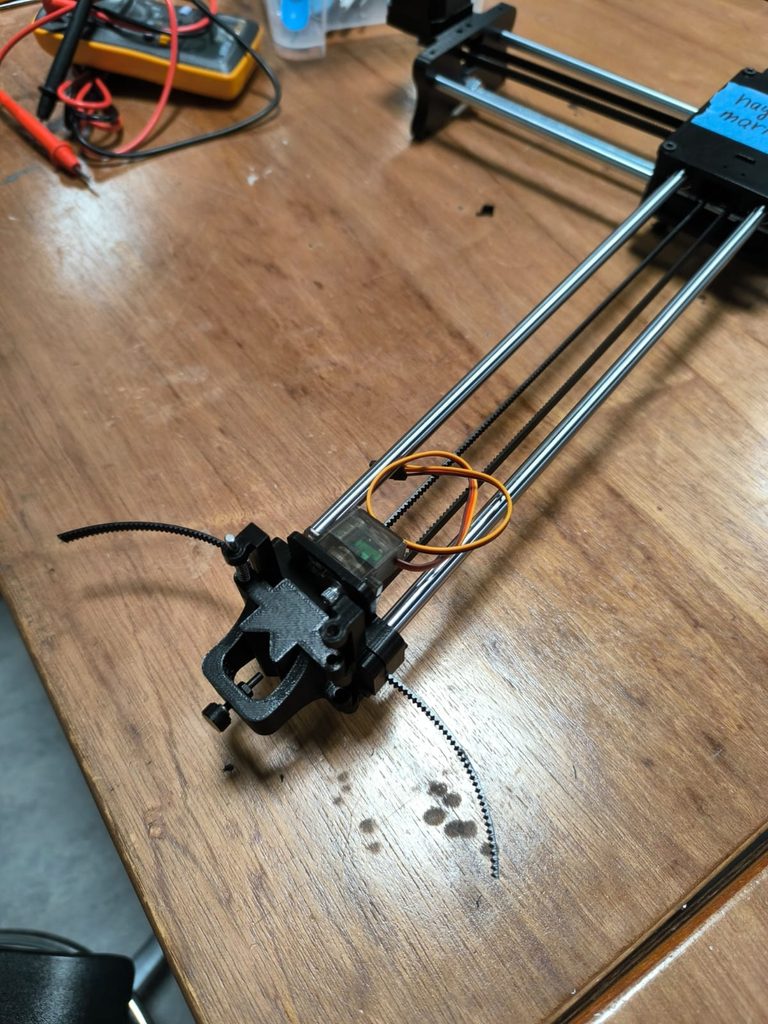
By Mariam and Haya
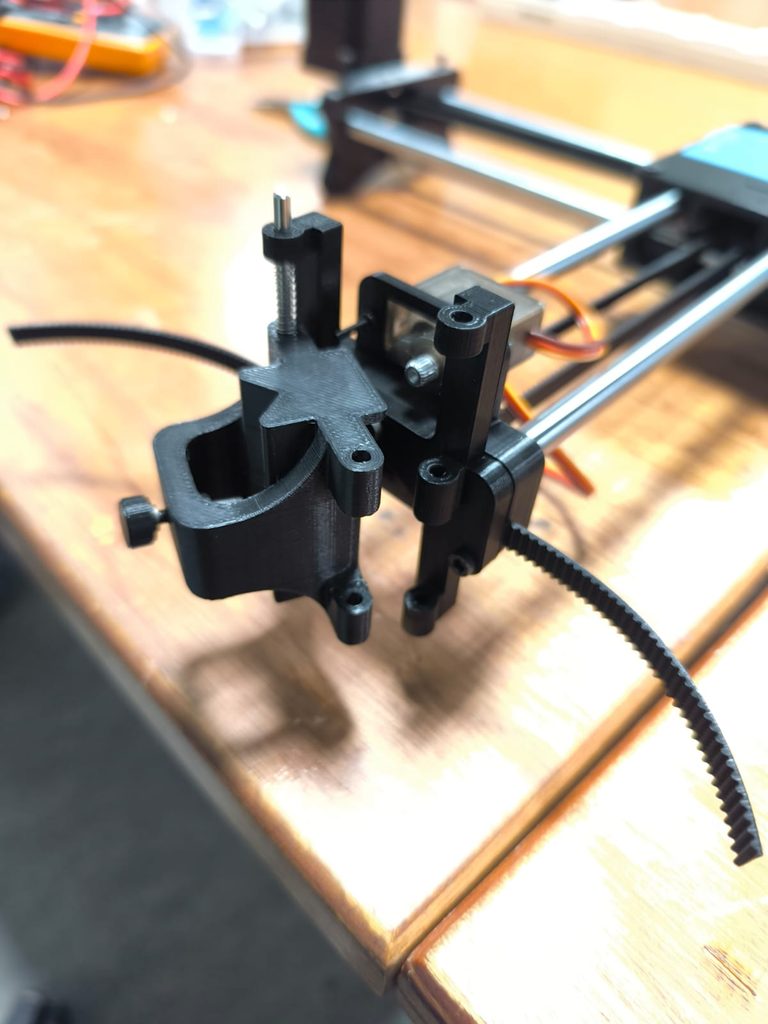
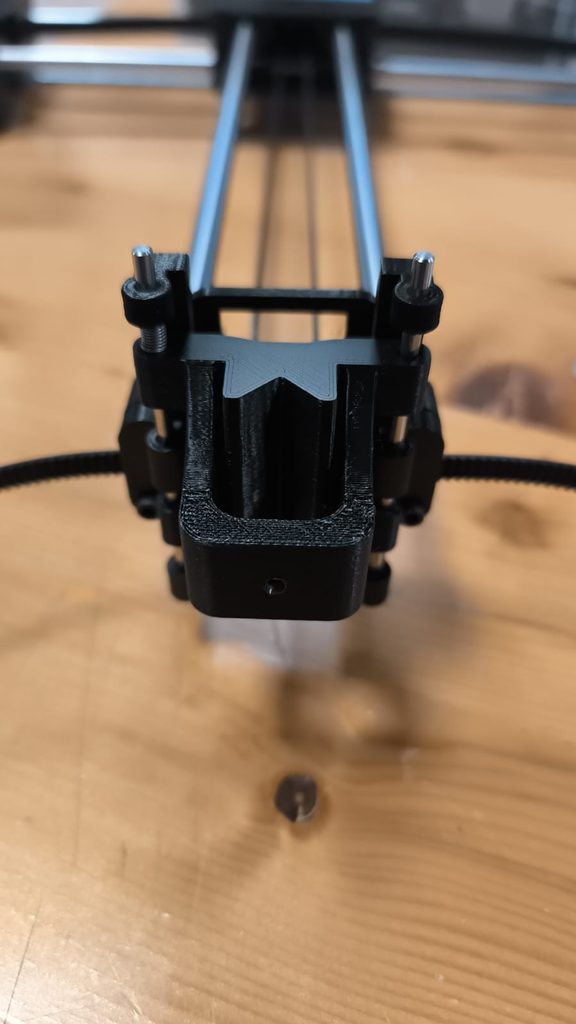
Assembling this pen plotter wasn’t as difficult as understanding the instructions. We started the assignment by first putting together the X-axis. It took us some time to understand what the instructions were asking us to do, but the images were really helpful in guiding us through the process.
After the very first step, we learned about the wonderful properties of the mallet. At some point, using it almost felt like therapy. Once we had placed the X-axis rods into the X supports, we added the bearings. This took us quite a while because we had to remove the supports from the 3D-printed parts, figure out which screws and bearings went where, and understand how all the pieces fit together.
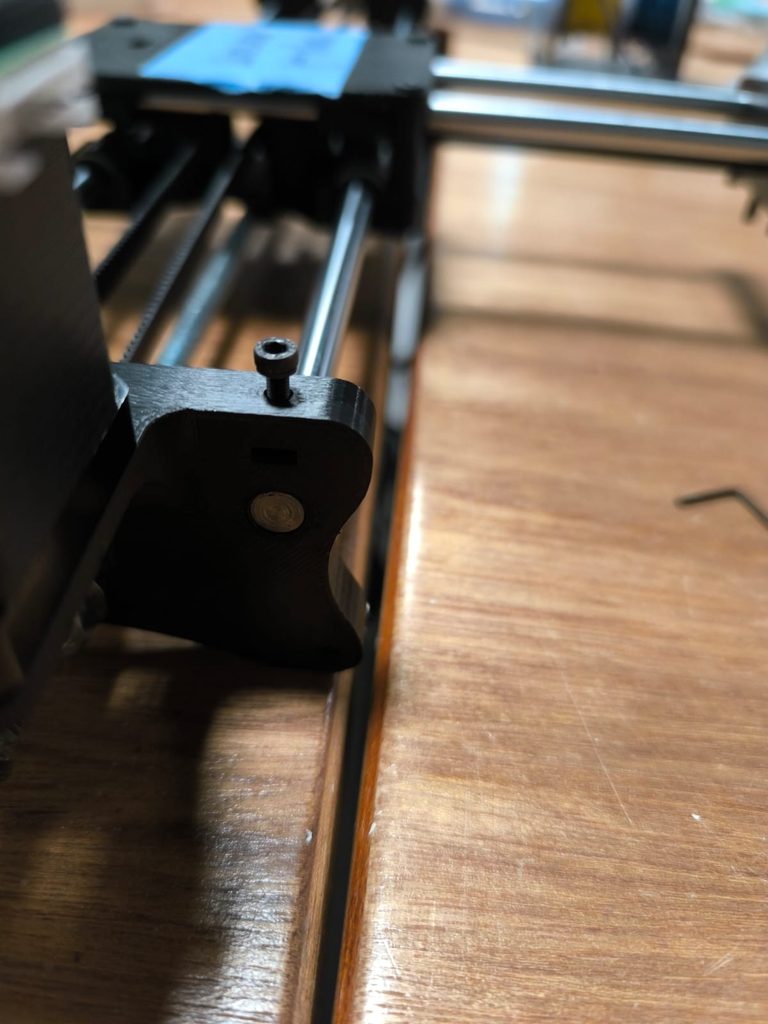
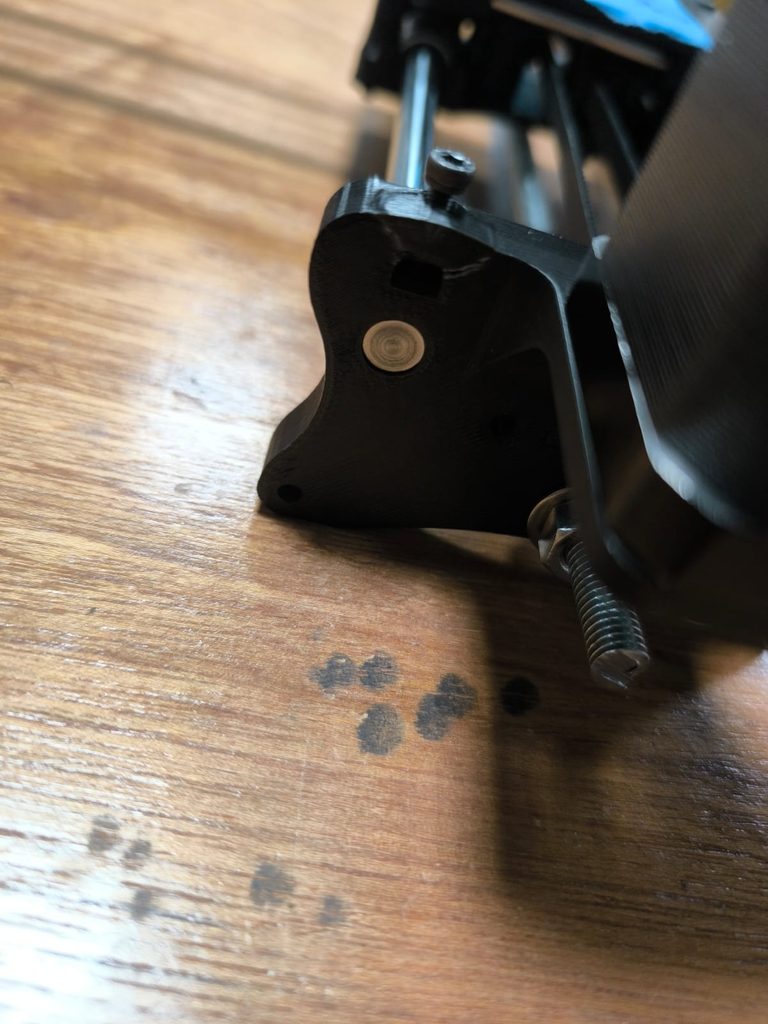
While putting the rods into the Y-axis, I used the mallet a little too forcefully, which caused one of the bearings to come out. We also spent a good amount of time figuring out what the 20-tooth pulley was and how it was supposed to attach to the stepper motor. Referring to the professor’s assembled pen plotter was very helpful during this process, as it gave us a better idea of how the different parts were supposed to fit together.
Another time-consuming step was inserting and tightening all the bolts. While inserting one of the bolts into the x-axis holder, the plastic started bulging out. This made it look like the plastic was about to rip into two parts. Eventually we ended up not screwing the bolts completely and letting it go just before it started to feel tight.