Assembly Process
For this assignment, we worked together to assemble the pen plotter using the provided 3D-printed parts and the other components needed for the structure.
We started by assembling the X-axis, where we inserted the metal rods into the supports and put together the middle carriage/clamshell. We then continued building the rest of the structure and attached the stepper motors to each side. After finishing that part, we moved on to the Y-axis and connected it through the middle section of the plotter.
We also installed the timing belts around the structure. We had to make sure that the belts were going through the correct parts and that they were tight enough to stay in place. We checked them as we continued assembling the plotter to make sure everything was positioned correctly.
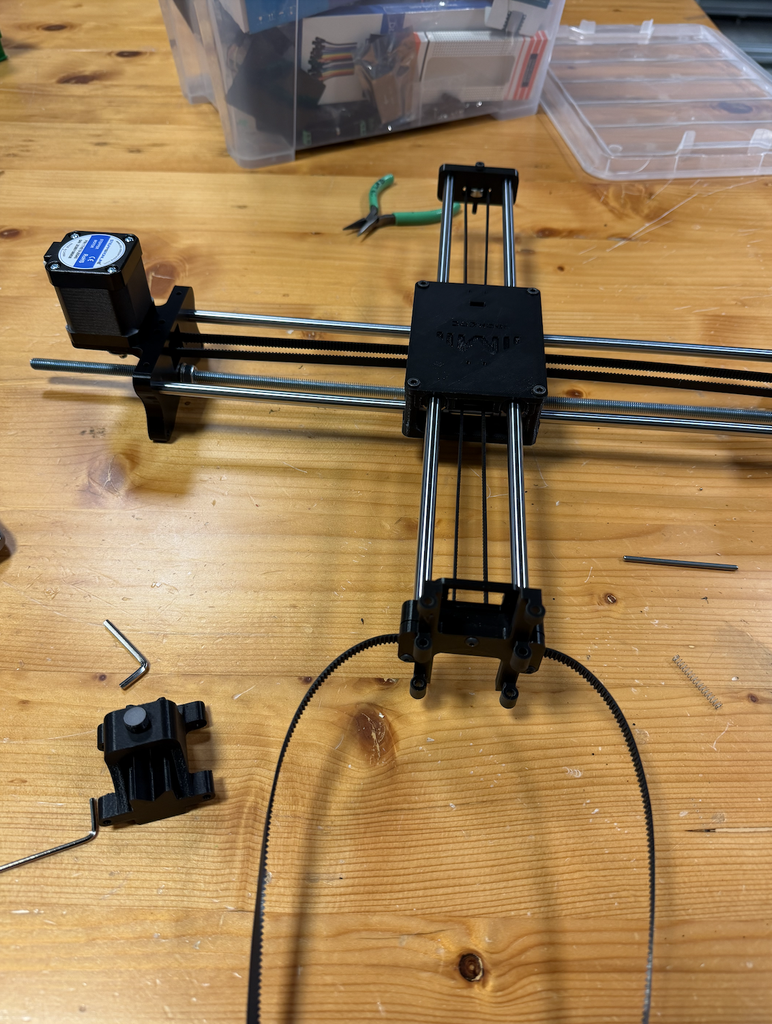
Next, we worked on the pen holder at the end of the Y-axis. We assembled the different 3D-printed pieces that make up the pen holder and attached the servo motor to the mechanism. We made sure that all the pieces were in the correct position before securing them together.
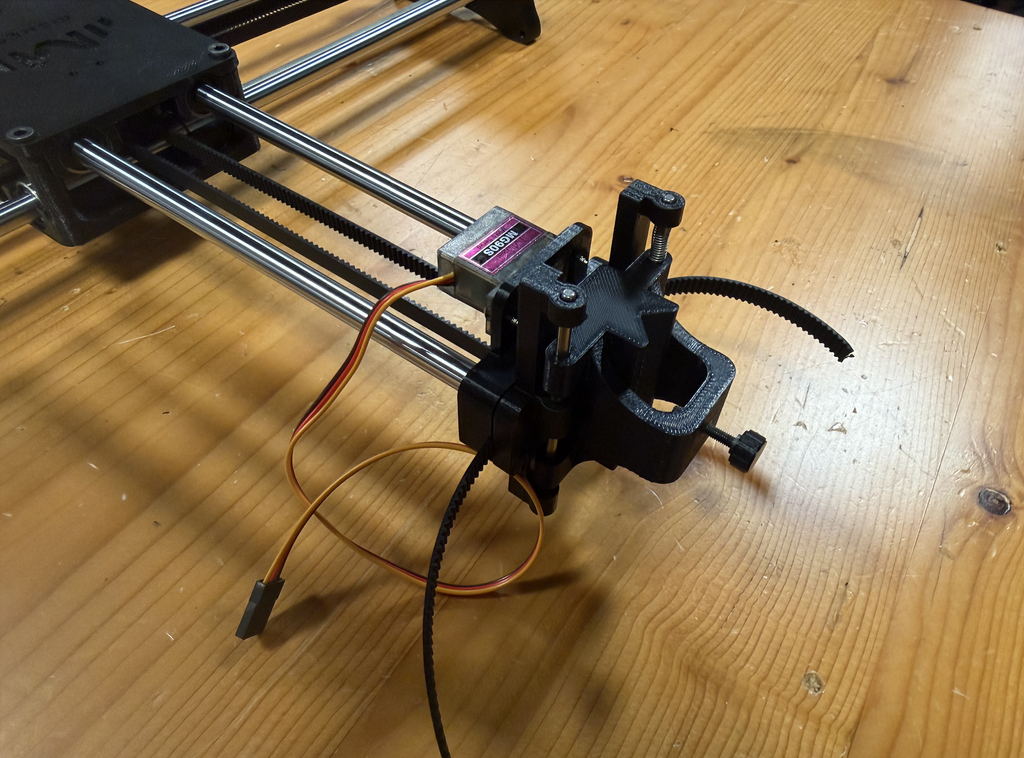
After assembling all the main parts, we looked over the whole structure and checked that everything was attached correctly. We made sure that the rods, timing belts, motors, and pen holder were all properly in place and that nothing was loose.
Problems and Challenges
One problem we had was while assembling the middle carriage/clamshell. There were four screws that had to be tightened separately, but whenever we tried to tighten one of them, the screw would push upward and slightly lift the middle part instead of staying in place. Once we finished one screw and moved on to the next one, the same problem would happen again. We ended up having this issue with all four screws, which made this part of the assembly more difficult and took us longer than we expected. We had to keep adjusting the middle part while tightening each screw until we eventually managed to get all four screws tightened properly and keep the whole section in place.
Another problem we had was with the servo motor on the pen holder. We initially forgot to attach the servo motor before we finished putting that section together. We only realized after we had already assembled the other parts around it. Because of this, we had to go back and reopen part of the pen-holder assembly that we had just finished. We then placed the servo motor in the correct position, screwed it in properly, and put the section back together again. It added an extra step to the process, but we were able to fix it without having to redo the entire pen holder.
Final Assembly
After fixing these problems, we were able to complete the physical assembly of the pen plotter. The final structure included the X and Y axes, the middle carriage/clamshell, stepper motors, timing belts, and the pen holder with its servo motor. We checked everything again at the end to make sure all the parts we had assembled were secure and in the correct positions.
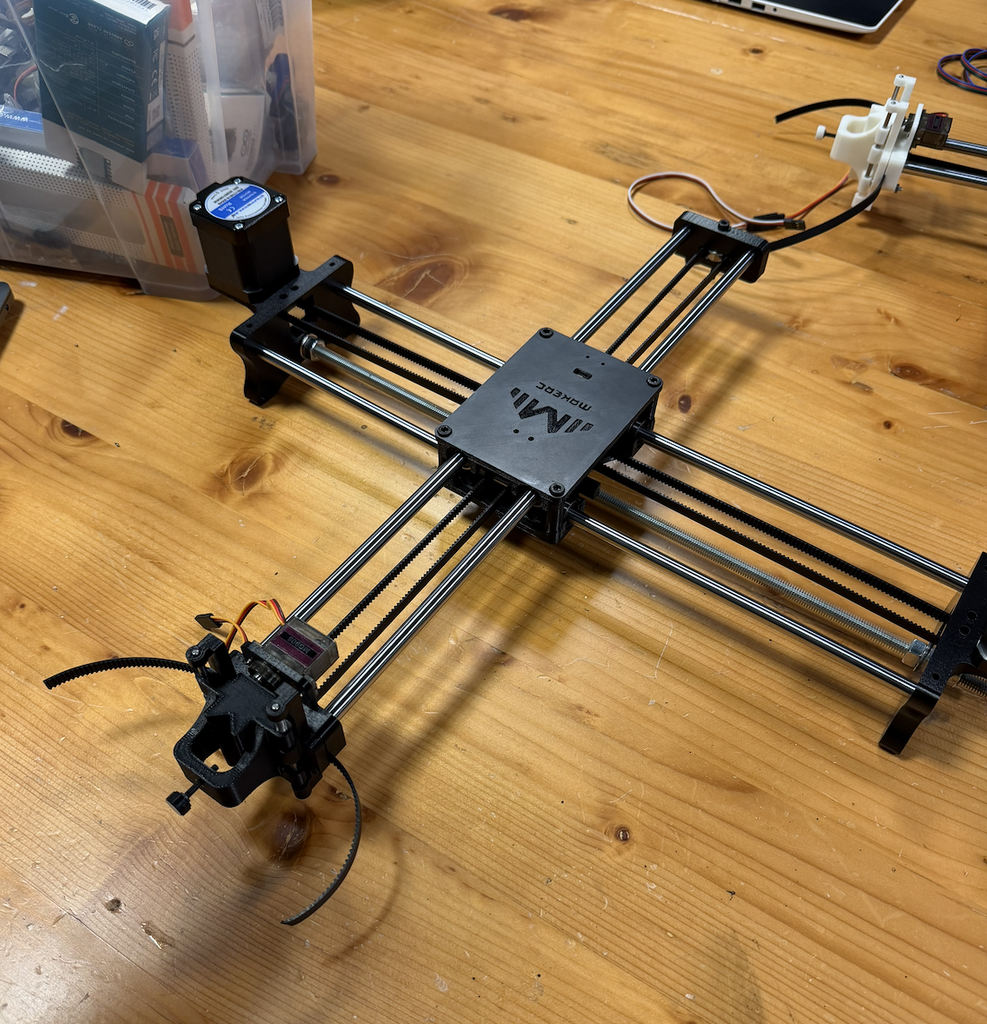
Overall, assembling the pen plotter involved a lot of different parts, and we had to pay attention to how each piece connected to the next. Some sections were easier to put together, while others took more trial and error. The middle carriage/clamshell and the pen holder were probably the most challenging parts for us because of the problems we had with the screws and forgetting the servo motor. Even though we had to go back and fix a few things, we were able to work through the problems and complete the physical assembly of the pen plotter.