By: Asma + Shamsa
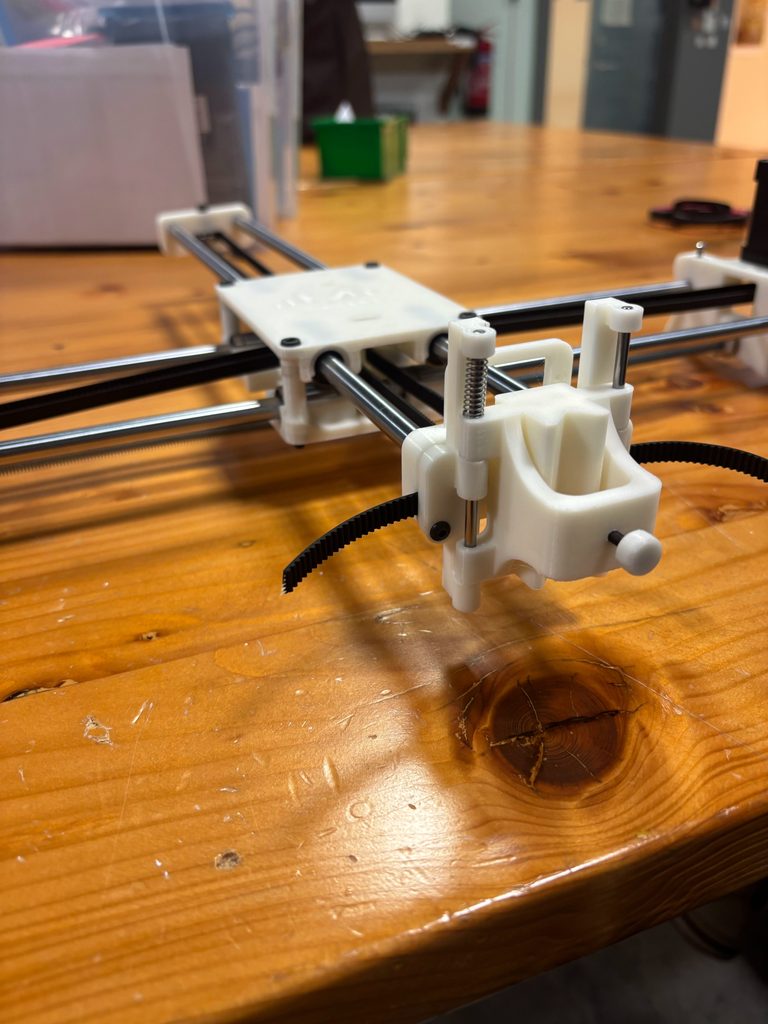
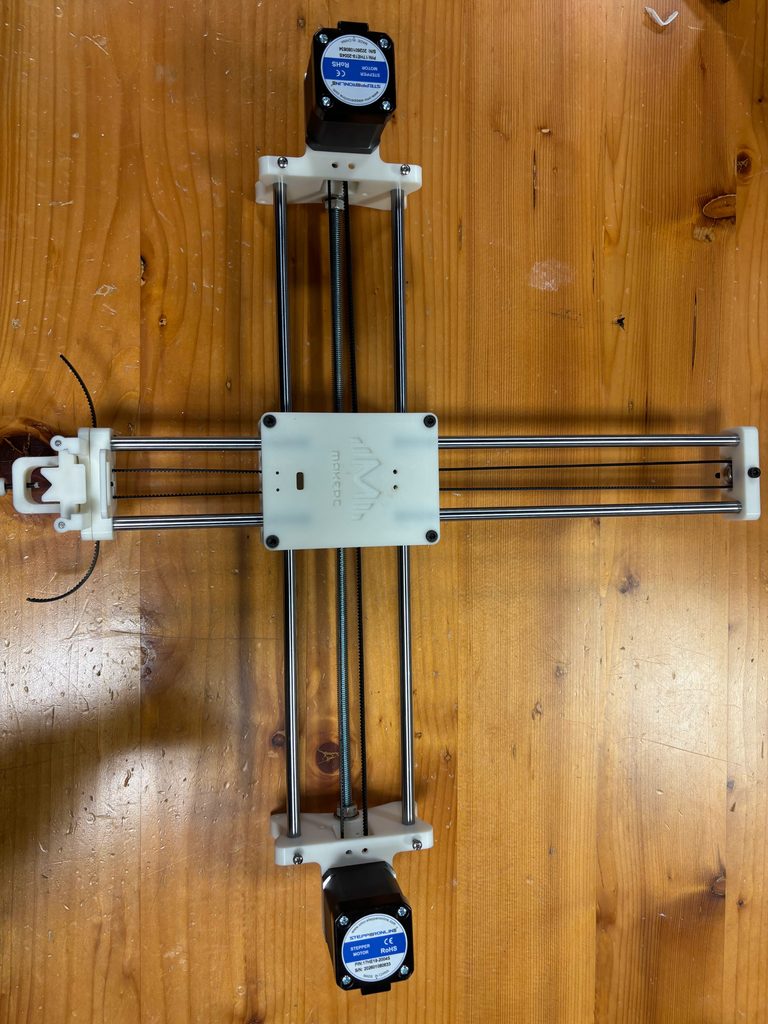
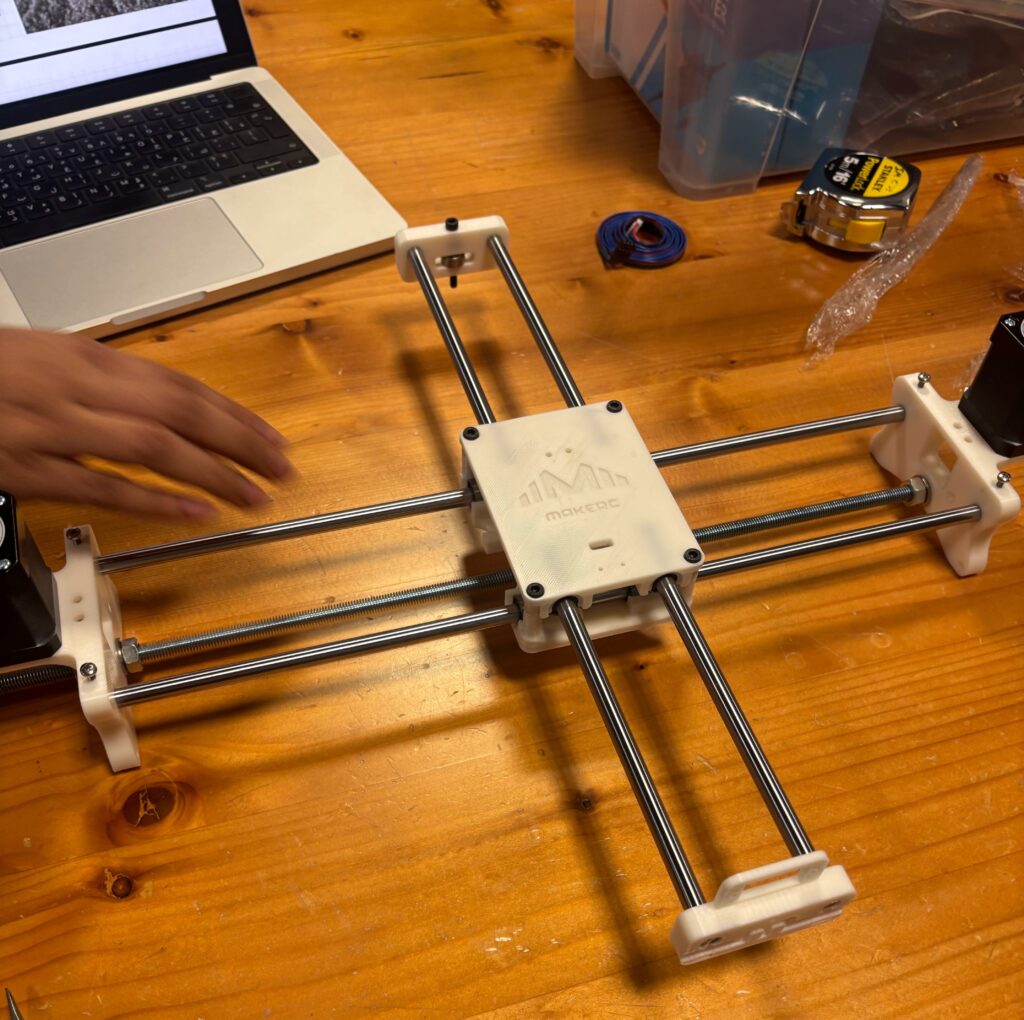
For this assignment, we assembled a pen plotter using 3D-printed parts, metal rods, bearings, stepper motors, and a timing belt. We followed the provided instructions and referred to the accompanying images whenever we were unsure about a step.
Stage 1: (x-axis)
Stage 2:(y-axis)
Stage 3: (looping the belt)
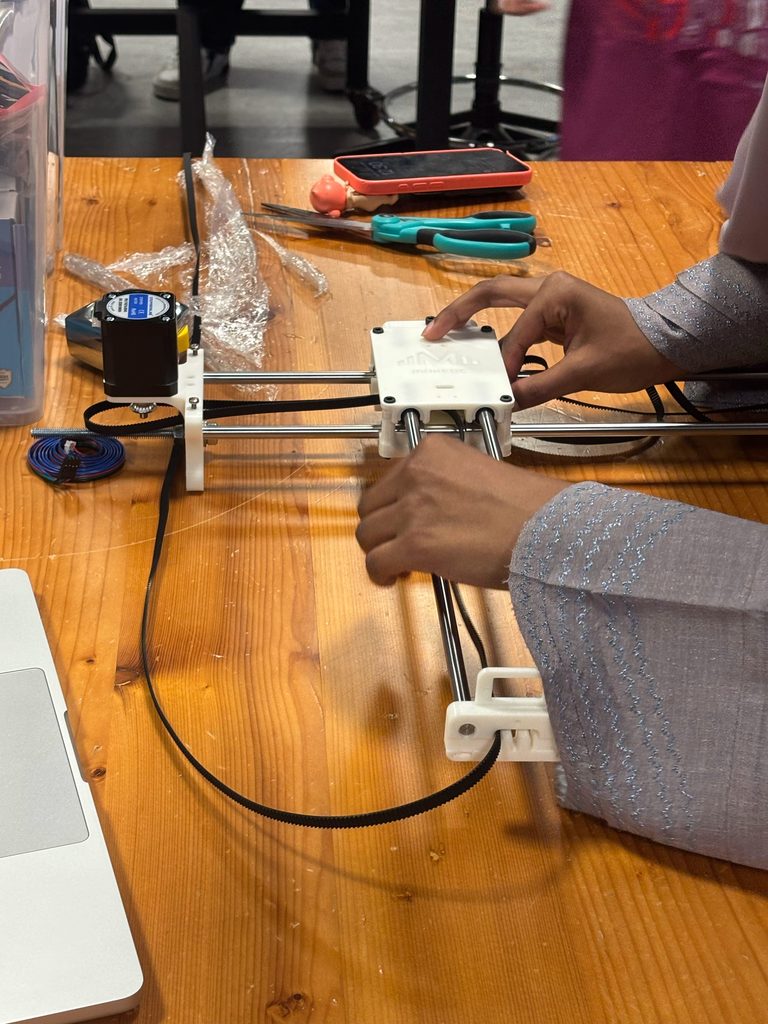
Stage 4:(attaching the pen holder)
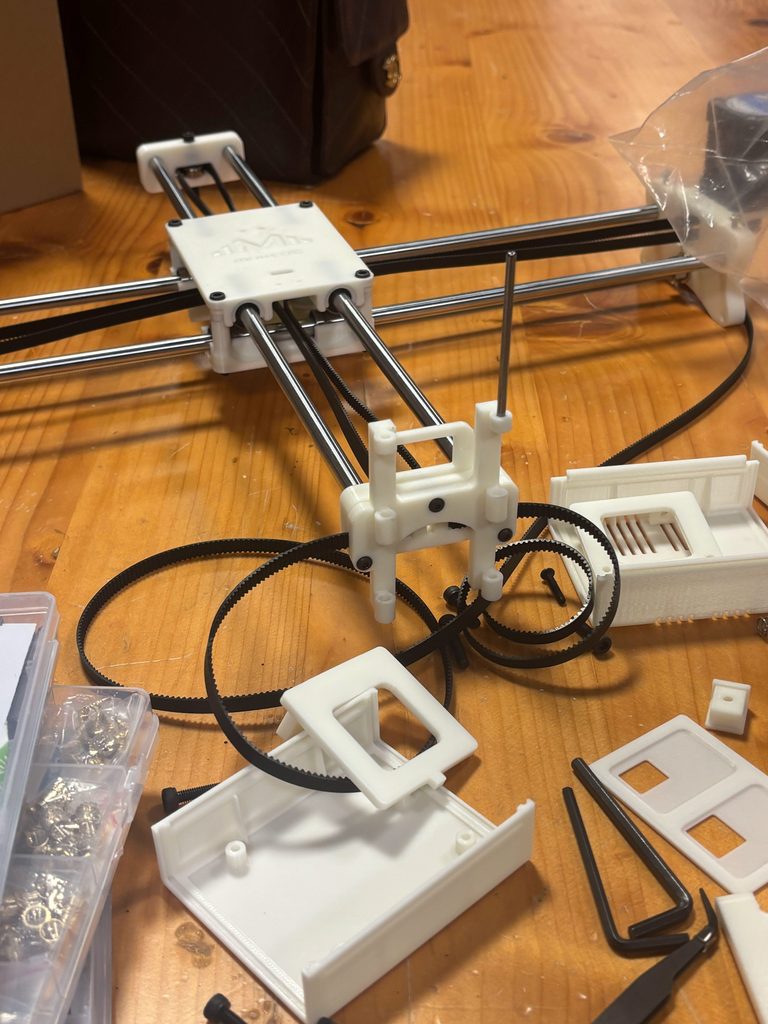
Stage 5:(adding the servo)
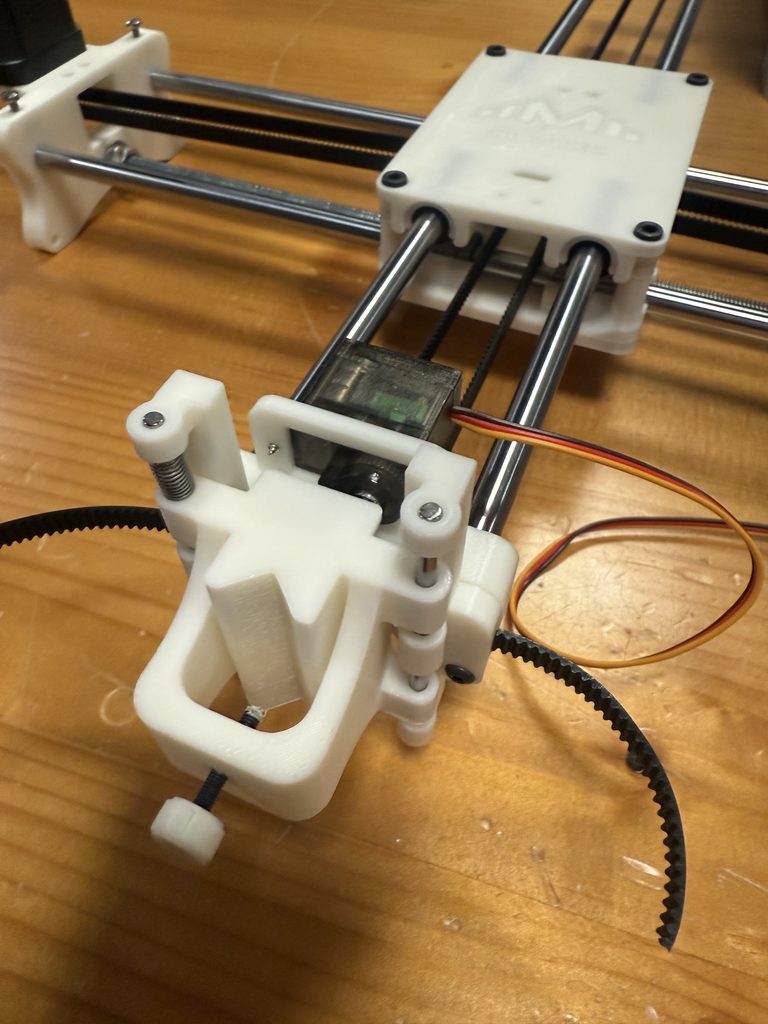
What Went Well
We worked well as a team and knew where to find most of the parts, which helped the assembly process run smoothly. We coordinated lab hours that worked for both of us and completed the entire plotter in approximately four and a half hours, much faster than we had expected. The supports were easy to remove from the 3D-printed parts, and the bearings were straightforward to work with. The rods also slid through the bearings without any issues.
Process and Challenges
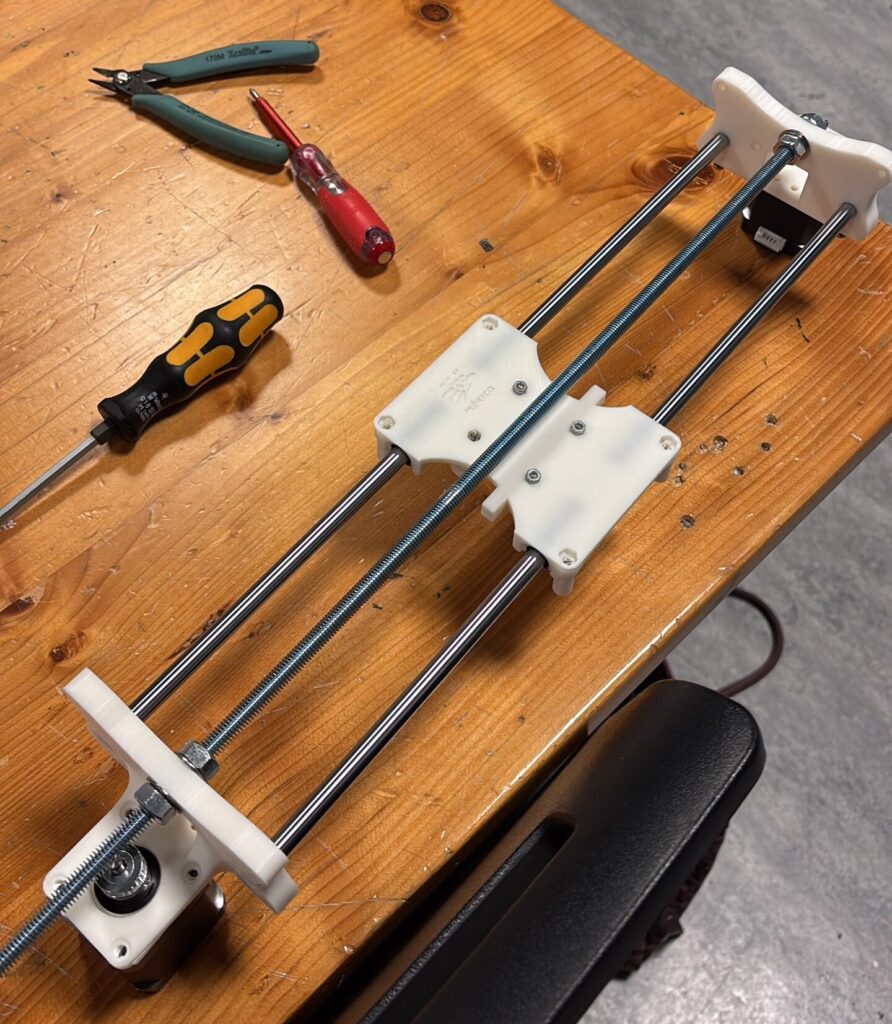
We began by removing the support material from the printed parts. We then fitted the rods, linear bearings, and threaded rod into the Y-axis assembly and mounted the first stepper motor. Although we followed the instructions closely, some steps were unclear and required us to check the images carefully.
During the early stages, we used regular screws instead of the required hex, or Allen, screws, so we had to unscrew and reassemble the base twice. We also needed to replace the longer threaded rod with a shorter one. Since we live in different emirates, coordinating our time in the lab was sometimes difficult. However, starting early gave us enough time to complete most of the assembly without rushing.
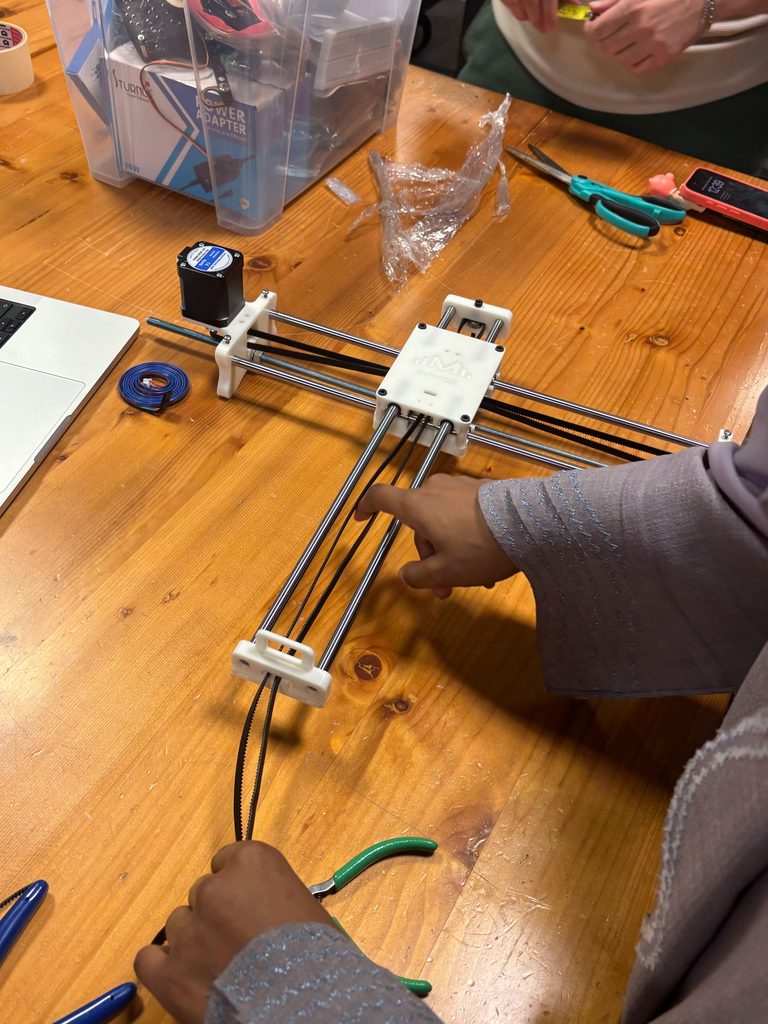
Installing the belt was the most tedious part of the process. Feeding it around the loops and making sure the teeth faced the correct direction required patience. We had to loosen the screws on the Y-axis base to adjust the belt, then tighten both sides carefully to keep the parts aligned. At one point, the belt slipped off a loop after the base had already been assembled and parts of the belt were under tension, making it difficult to reattach. We also realised that we had forgotten to include a spring in the Y-axis base and had to return to that step to install it.
How We Overcame the Challenges
We corrected the screw issue early in the assembly by replacing the regular screws with hex screws. To manage the belt, we used pliers to get a better grip and feed it through the opening. This also helped us reattach it when it slipped off the loop. The mallet helped us fit parts into place, making the assembly process quicker. Throughout the process, we checked the instructions and images together and adjusted parts as needed.
Final Assembly and Reflection
Overall, this assignment taught us the importance of building a strong, well-aligned base and checking each component before moving to the next step. We completed the plotter successfully, but several mistakes required us to undo and repeat parts of the assembly. Next time, we would read the instructions more carefully before beginning, confirm which screws and components are needed at each stage, and make sure all support material has been removed properly. These checks would help us work more efficiently and reduce unnecessary reassembly.