By: Marcos Hernández and Hubert Chang
The Assembly Process
Note: This is told as if it was some sort of story, that is why the photos are not labelled. You see the photo, then read what we have to say. :)
Building this machine proved to be very time-consuming. We did not expect it to take so many hours between assembling and testing why some screws worked while others did not at all. In other words, while we expected it to take not much time, it proved to be very time-consuming.
Nevertheless, we found the process interesting, painful, but interesting.
Here are the pictures of the process with some relevant caption with some difficulties we found:
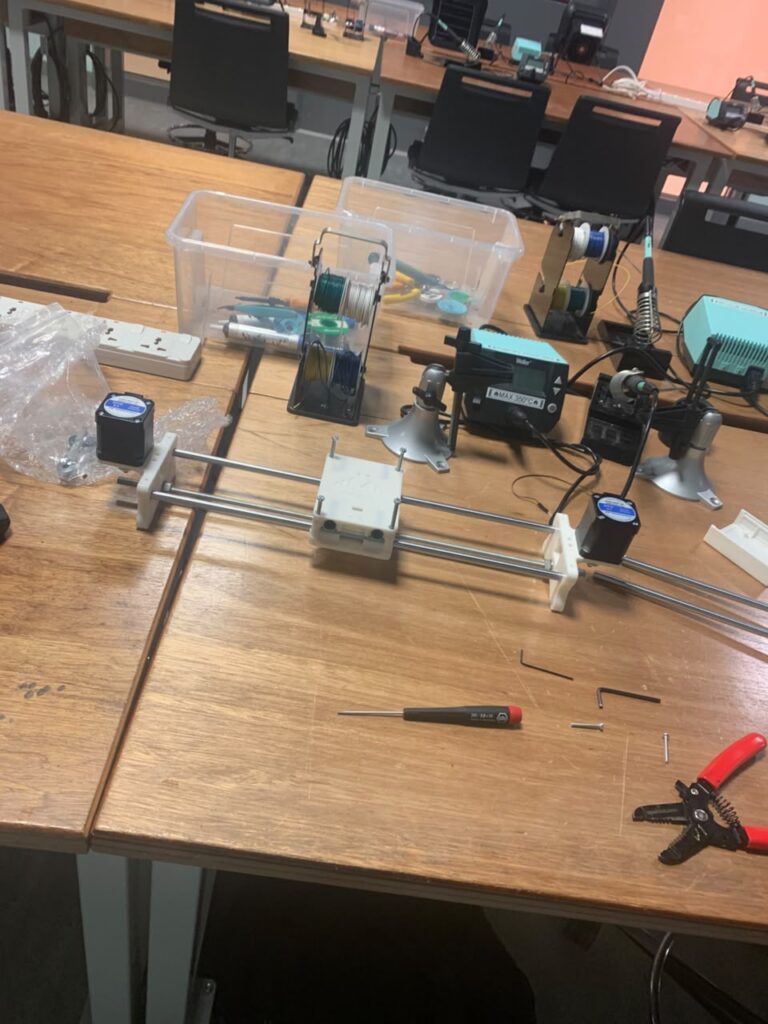
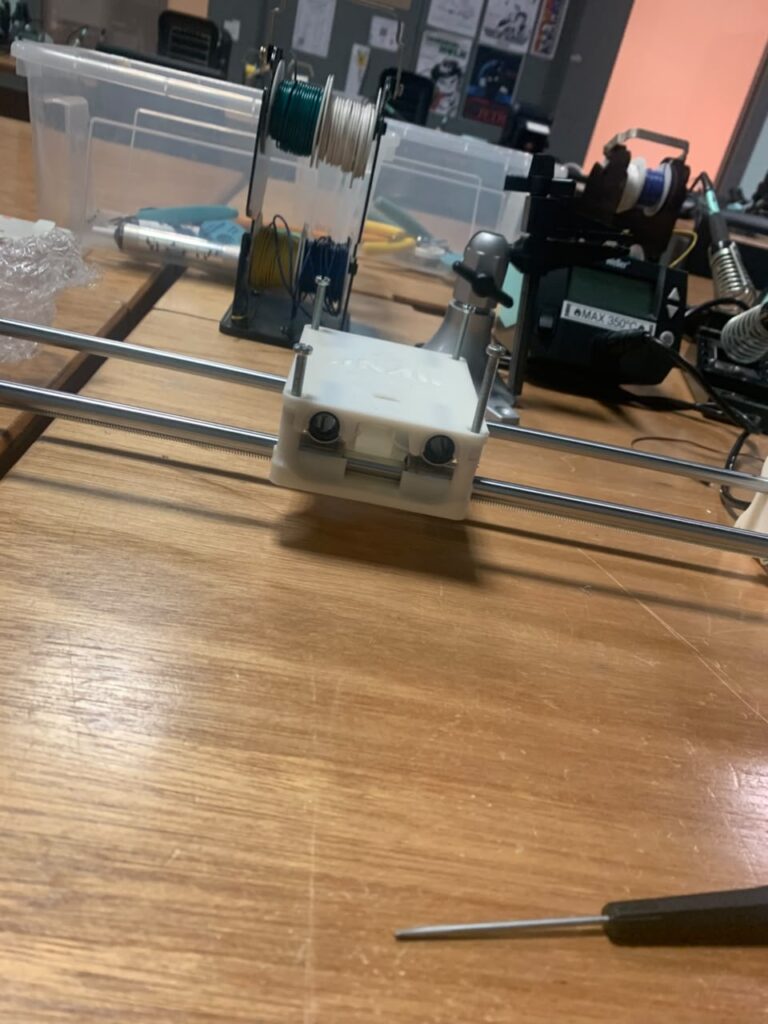
These two pictures represent hours of suffering. As you might notice, these are not the screws that were originally intended to be used. Sadly, due to maybe a printing issue, the original screws proved to be impossible to add. Not only this, but there were also many mistakes that we did, such as putting screws that were too long and interfered with some parts.
We should have read better the instructions before going speedy, but at least when we tried some screws that were less wide they went through normally.
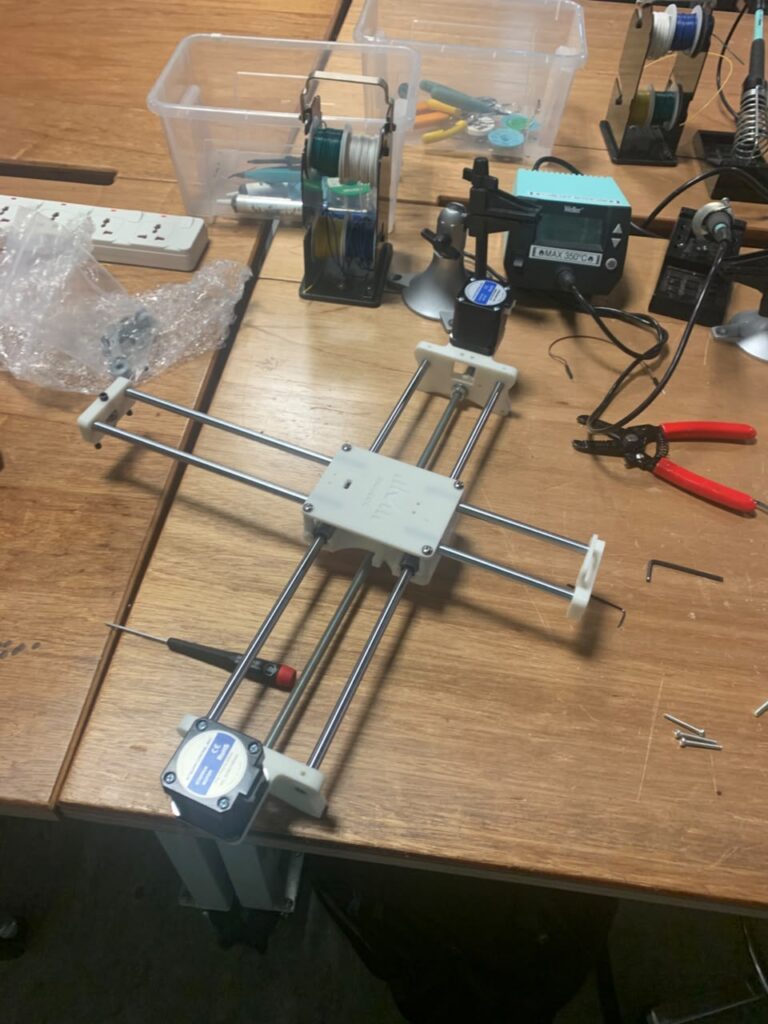
Now, here during this step there was another flaw that we got due to not reading enough… The four spacers. When we put the top carcass, we noticed that the top rods did not go through at all. Even when we pushed and moved the circles that are on the bottom carcass, they still did not go through. And as you might know now why… it is because we missed THE FOUR 3D PRINTER SPACERS!
Still, at least we noticed, but it did not make the problem of the screws any easier. At least we found a trick by then.
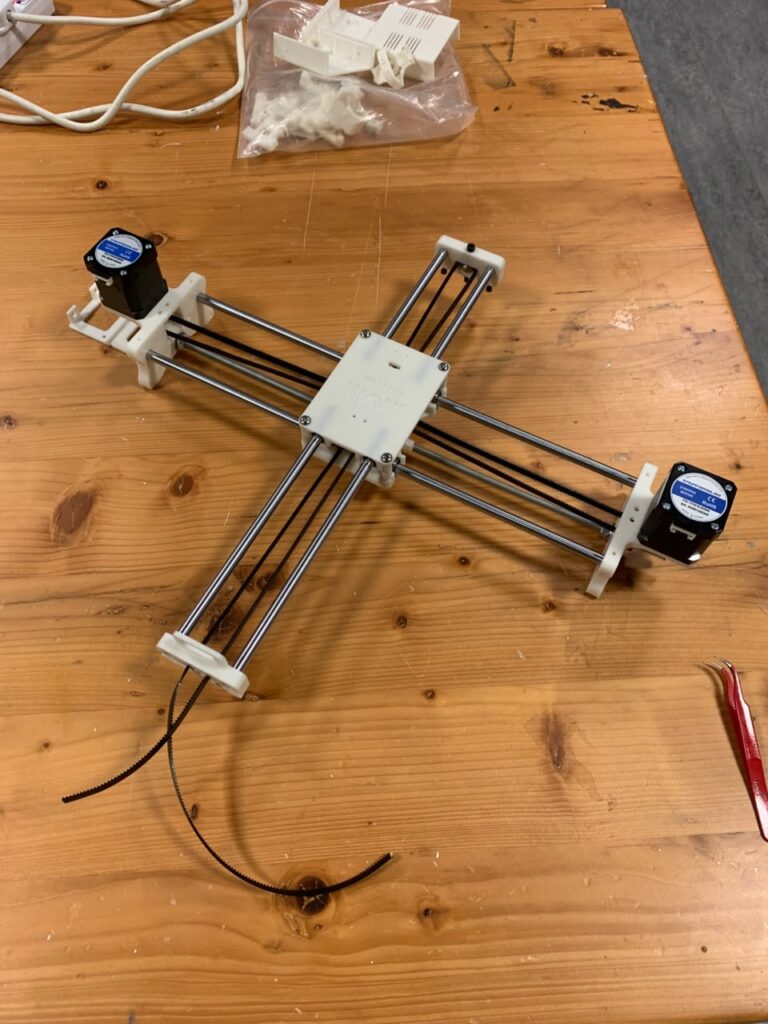
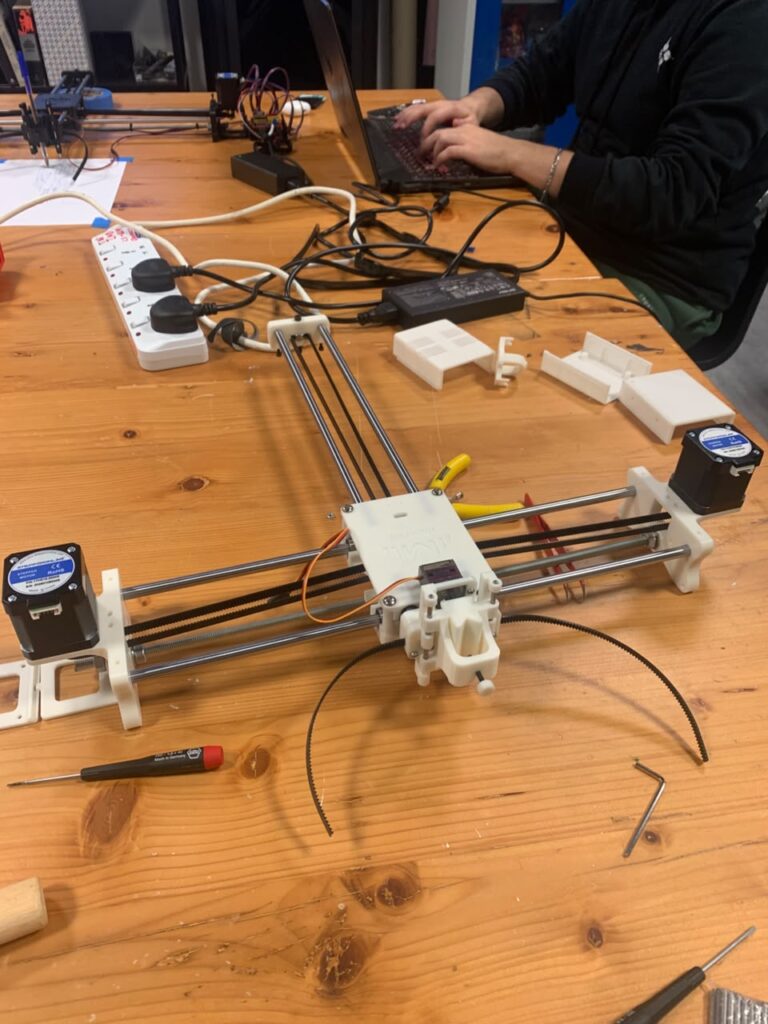
When we were working with the belt, this step was surprisingly easy for us. We were at first confused as to why the belt was not strong or straight at first, but we just needed to pull it a bit more.
Also, compared to other steps, this was the less painful one. Maybe most people had issues with the assembly of the part that gave us problems? Probably.
After some final cable installation and cable management, here is the final result:
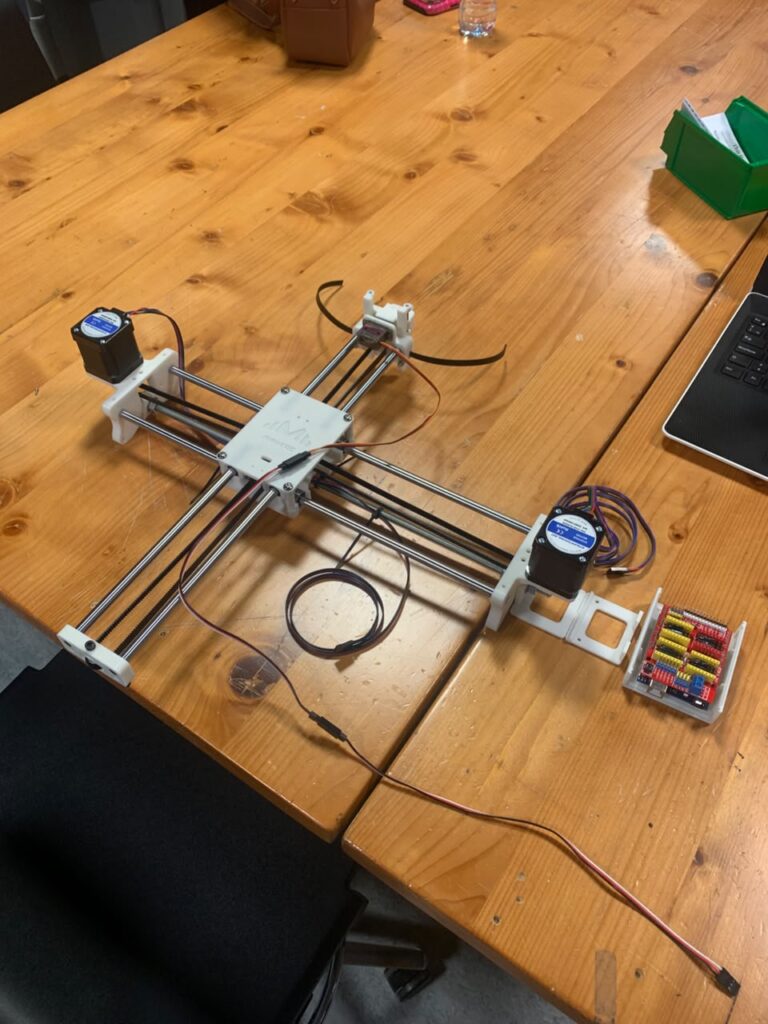
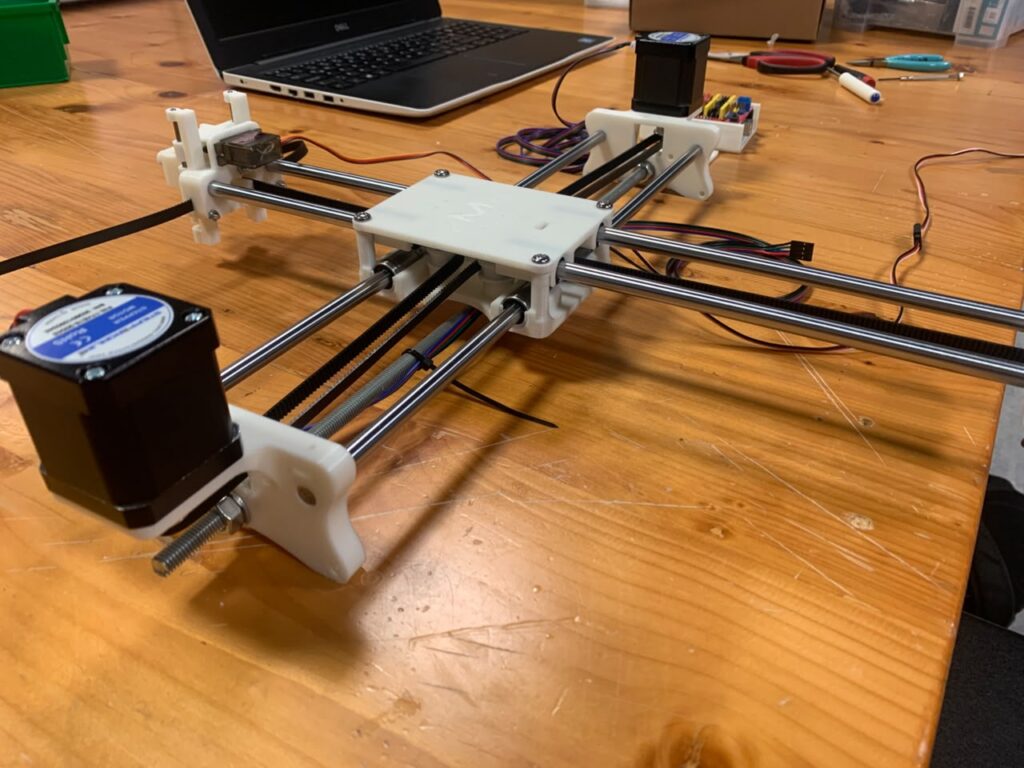
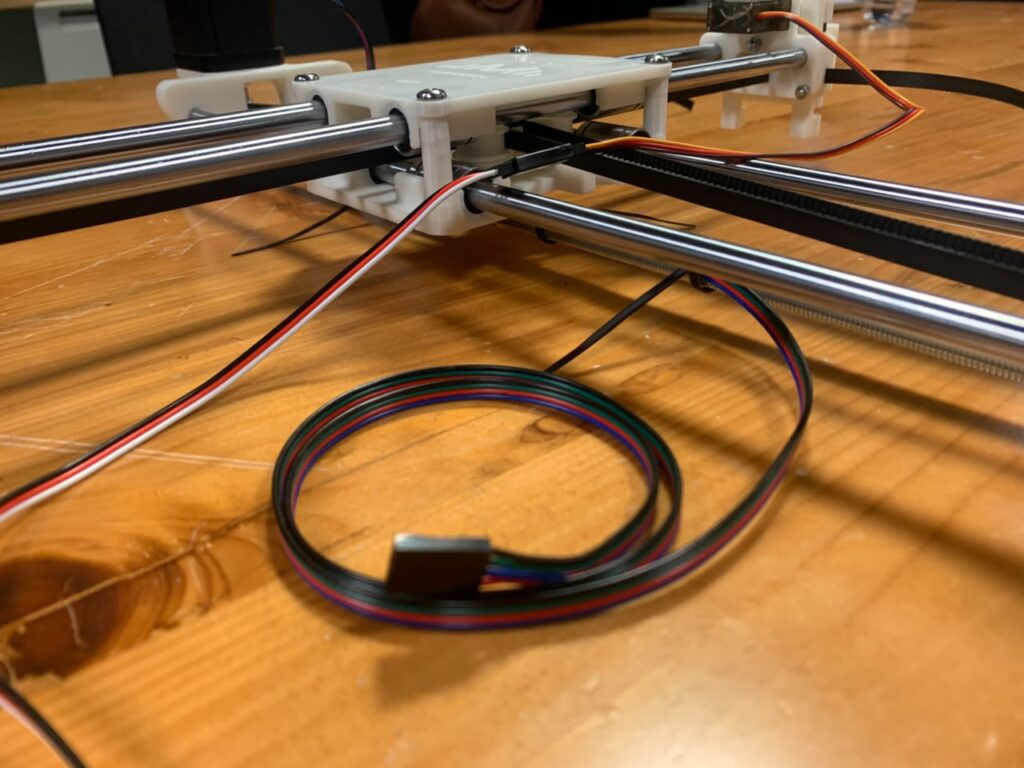
In conclusion, this drawing machine proved to be painful (at least Marcos’s hand was left hurting) and time-consuming. Although, it would be a lie to say that we did not learn from this experience. There is an interesting aspect to it, the fact that with sufficient time and planning, we can make such machines come into fruition.
Of course, the scheme, and materials were already handed to us, but there is a world out there in which such machines exist, and it is a matter of just exploring them.